Environment Setup for React!!

Hello Everyone, Presenting you CODING ADDA, We at Coding Adda will help you solve problems in Coding. We at Coding Adda try to clarify the concepts of Coding through short videos and real-life examples. Do support us in our journey. Like, Share and Subscribe to the Channel.
In this blog, we will set up the environment for React and from now we will be diving into React.
Install NodeJs:
First of all, we will be installing Nodejs. NodeJs is used to publish and install packages to and from the package manager. NodeJS is an open-source, cross-platform runtime environment for developing server-side web applications. You can install Nodejs from its website:
- Go to the NodeJs Website:
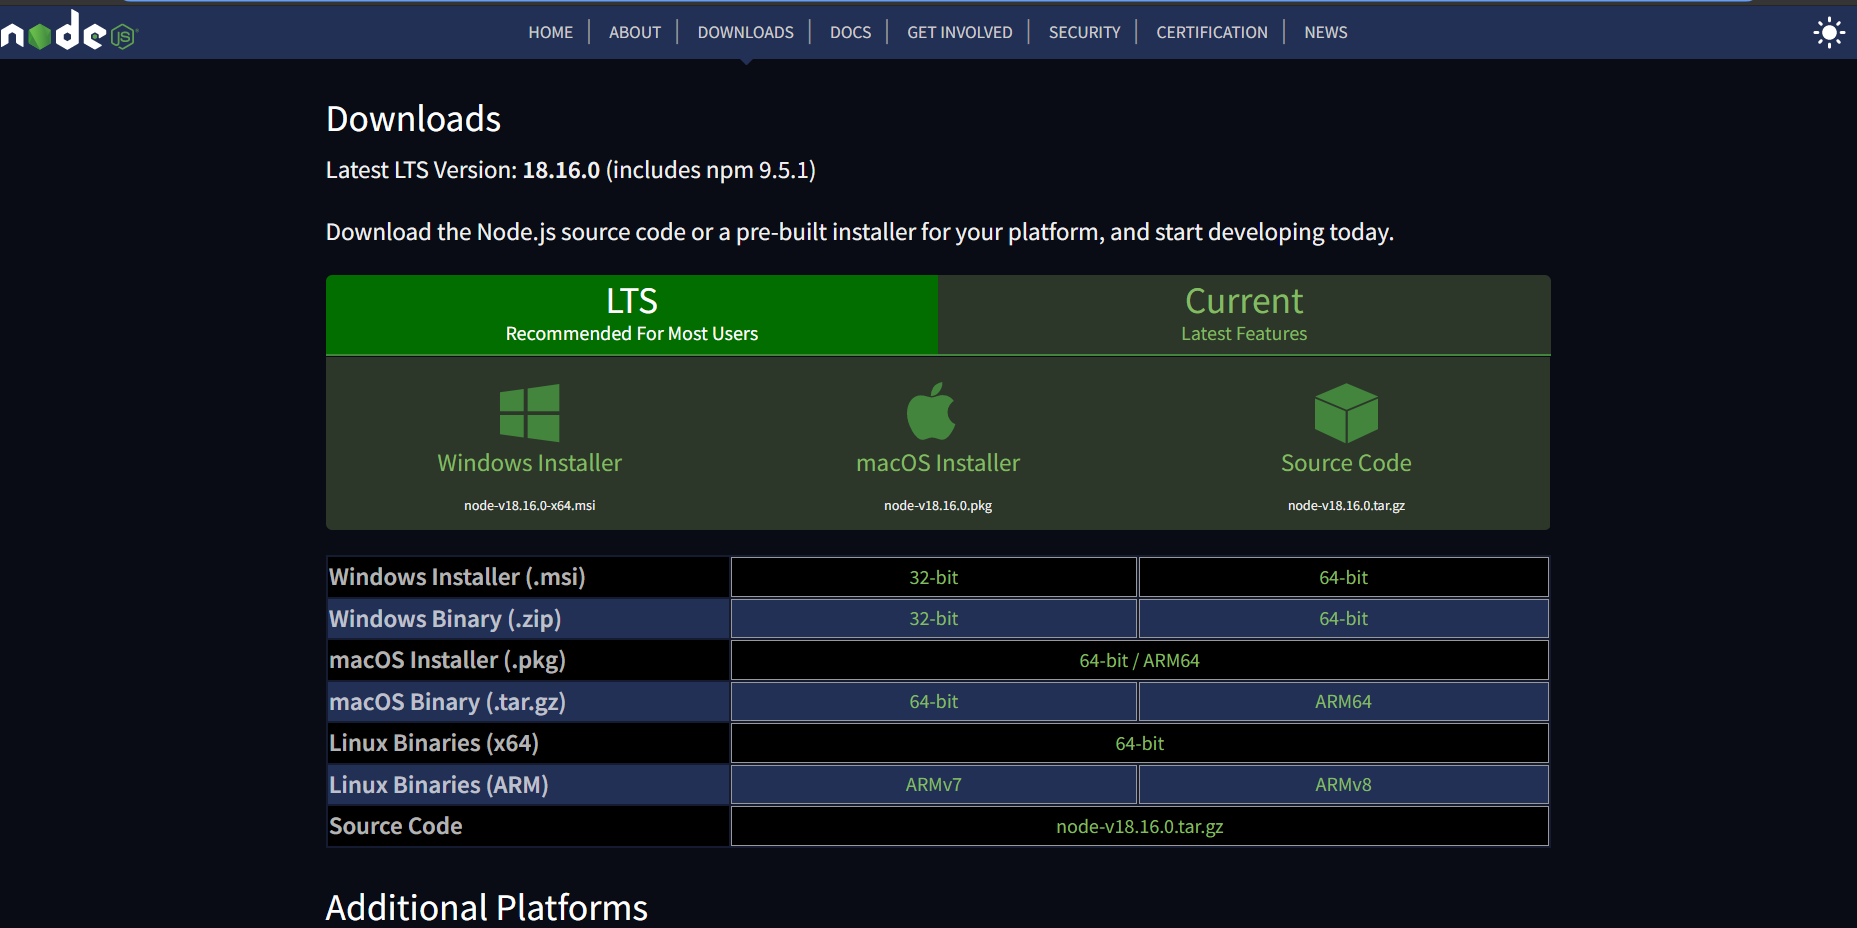
Choose the version for your Operating System and make sure to download the LTS (Latest Stable) Version.
Run the installer.
Follow the installer steps, agree to the license agreement and click the next button.
Restart your system/machine.
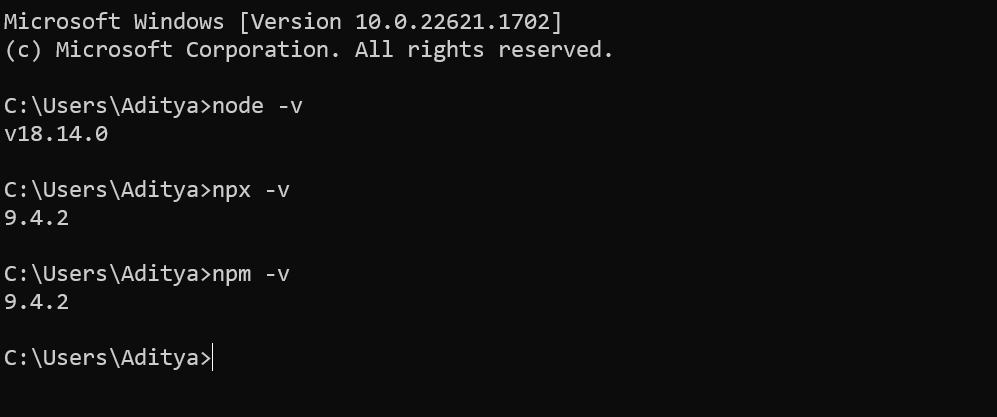
You can test the Nodejs and npm versions by printing them using the following command in Command Prompt:
node -v
npx -v
npm -v
It will look something like this:
Install VSCode:
Visual Studio Code is a free source-code editor made by Microsoft for Linux, Windows, and Mac OS. It has support for debugging, syntax highlighting, intelligent code completion, snippets, code refactoring, and embedded Git. Users can change the theme, add keyboard shortcuts, edit preferences, and install extensions to add functionality.
Go to the VsCode Official Website:

Choose the version for your Operating System and make sure to download the LTS (Latest Stable) Version.
On successful installation, you will see the following:

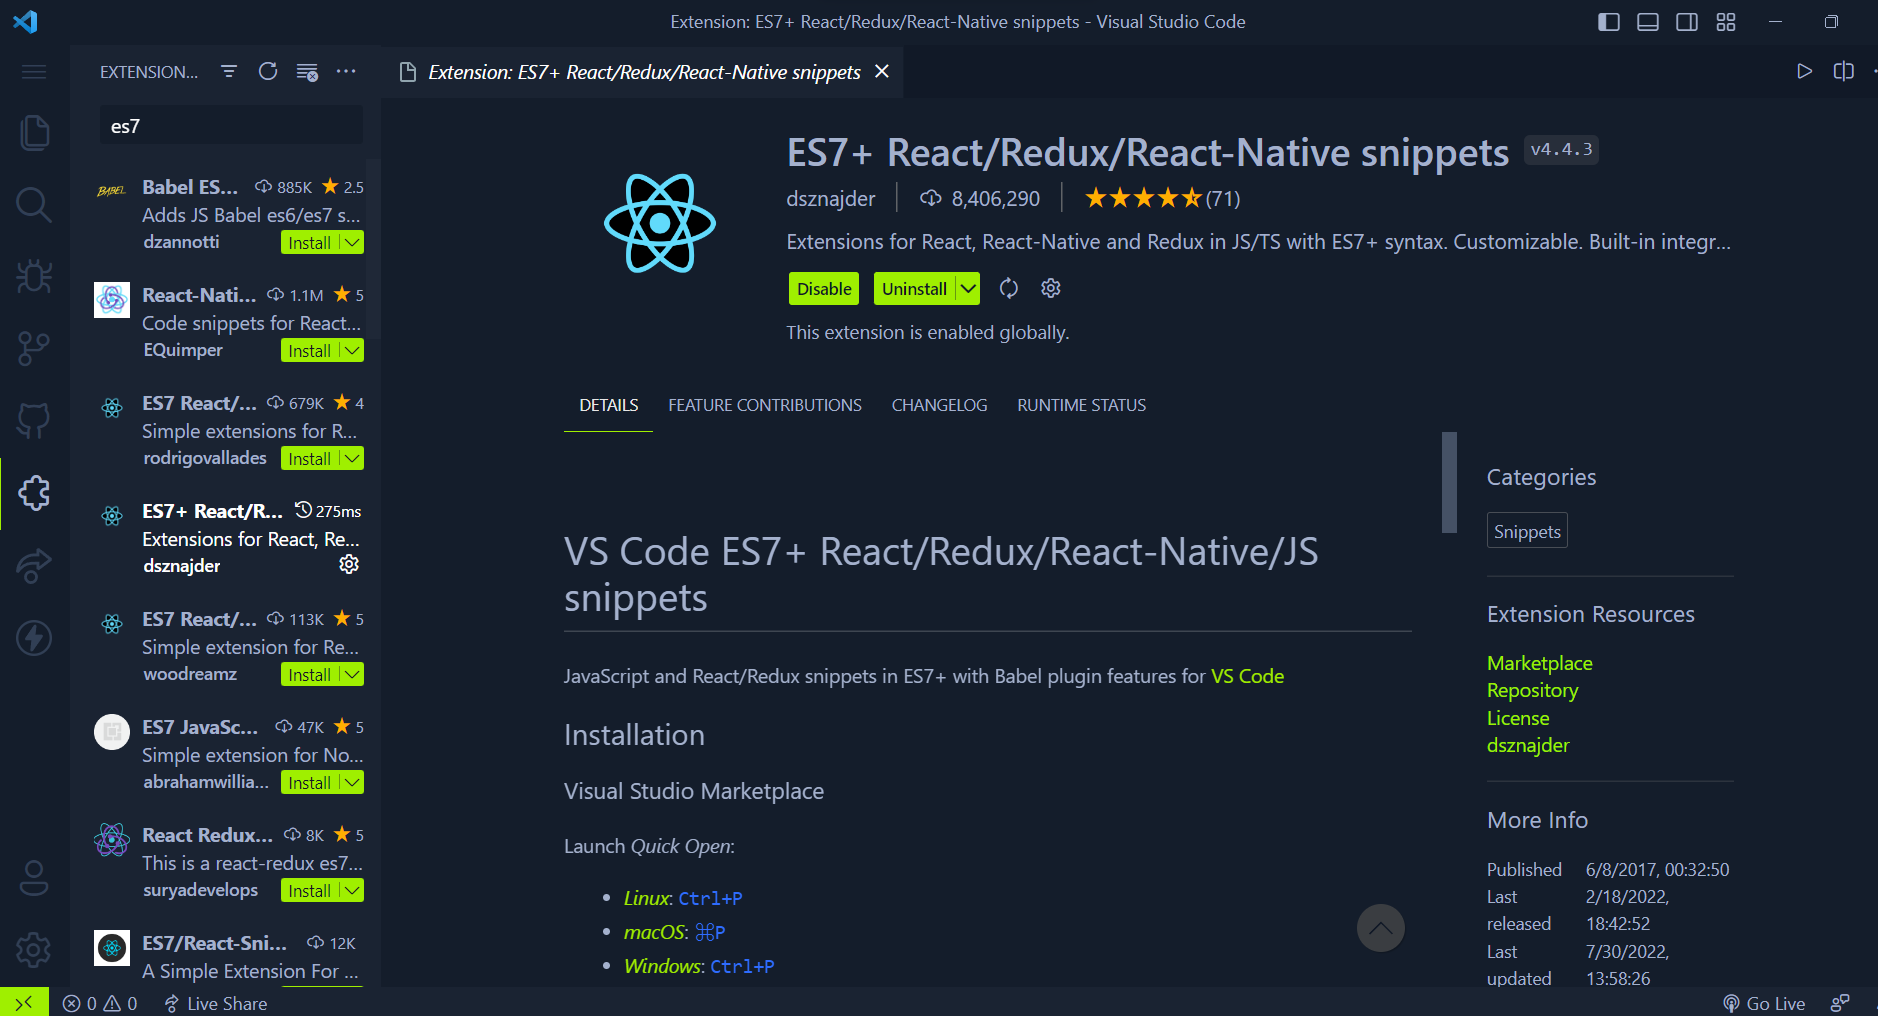
The next step is to install the ES7 extensions for React. For that go to the extension panel and search for the ES7 extensions:
In the next blog, we shall see Create Our First React App and See the File Folder Structure of React. To know more, make sure to watch the video on our Youtube channel. Happy Coding!!
Adios Amigos 👋👋


